Archive for October, 2010

Brunak

Thursday, October 21st, 2010

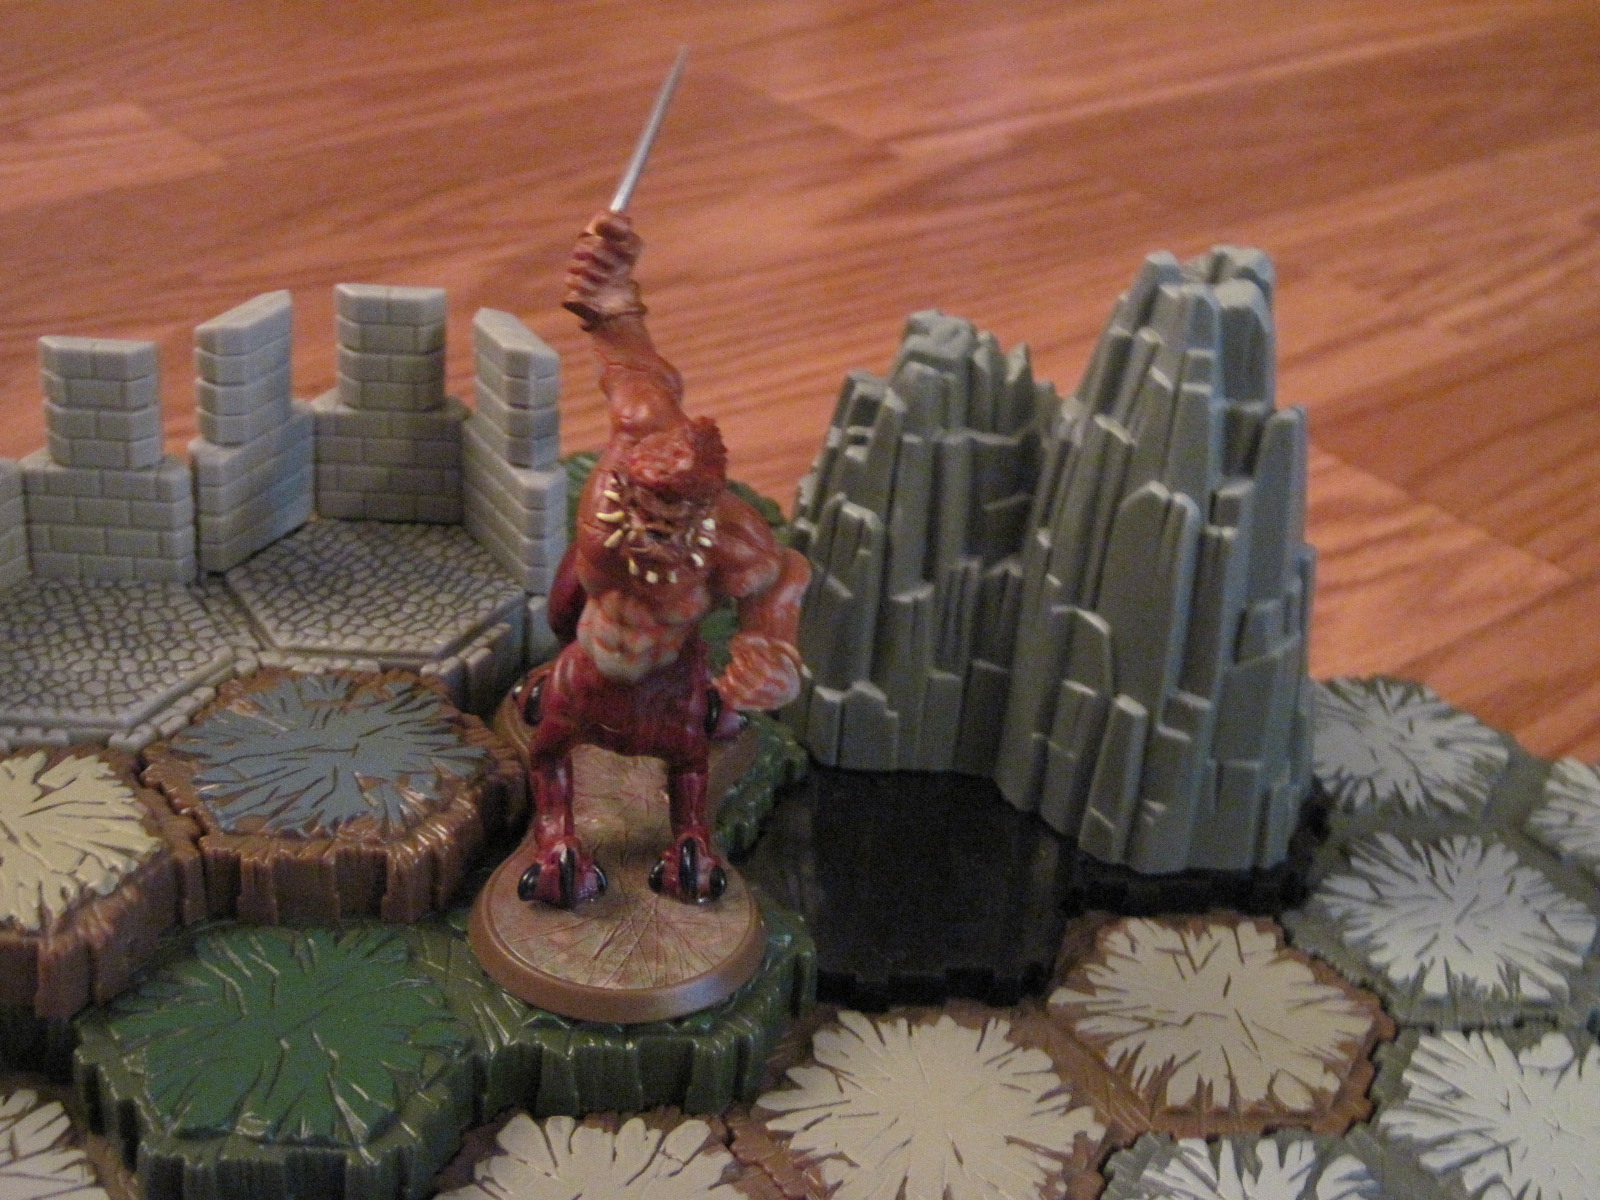
IMG_2812

Brunak prepares to cleave his foes in two

Wave: None

Expansion: Orm’s Return

Home World: Feylund

Fights For: Utgar

Number in Set: 5/5

Hit Zones: Everything but sword

ATTRIBUTES

Trolticor

Unique Hero

Mount

Ferocious

Huge 8

STATISTICS

3 Lives

Move-6

Range-1

Attack-4

Defense-7

110 Points

SPECIAL POWERS

Carry

Before moving Brunak, choose an unengaged friendly small or medium figure adjacent to Brunak. After yu move Brunak, place the chosen figure adjacent to Brunak.

Blood Hungry Special Attack

Range 1. Attack 4.

If Brunak’s Blood Hungry Special Attack destroys a figure, Brunak may Attack asgain with his Blood Hungry Special Attack. Brunak may continue attacking wiht his Blood Hungry Special Attack untio he does not destroy a figure.

Lava Resistent

Brunak never rolls for molten lava damage or lava field damage and he does not have to stop in molten lava spaces.

NOTES FROM THE AUTHOR

Brunak is an extremely well-rounded figure in my opinion. First, his move of 6 allows him to get into the thick of things and where you need him quickly. He can also grab someone else and carry him into battle too. This is great because you accomplish the work of one-and-a-half order markers with one. Brunak could even troop over the battlefield and take his own personal healer with him!

Second, is his defense. With 7 defense, Brunak is usually a fairly sturdy figure. Although he does have only 3 life, he can sit in the thick of things and almost always come out of a battle alive when most everyone else is long gone.

Third, his attack is incredible. With his Blood Hungry Special Attack, he can wipe out whole squads in one turn if he gets lucky. Also, he’s no wimp at attacking the bigger guys. Although it is no Jötun smash, an attack of 4 can ussually elevate the stack of wound markers on an army card a bit higher.

Lastly, this great figure – to say nothing of his appearence – costs only 110 points!

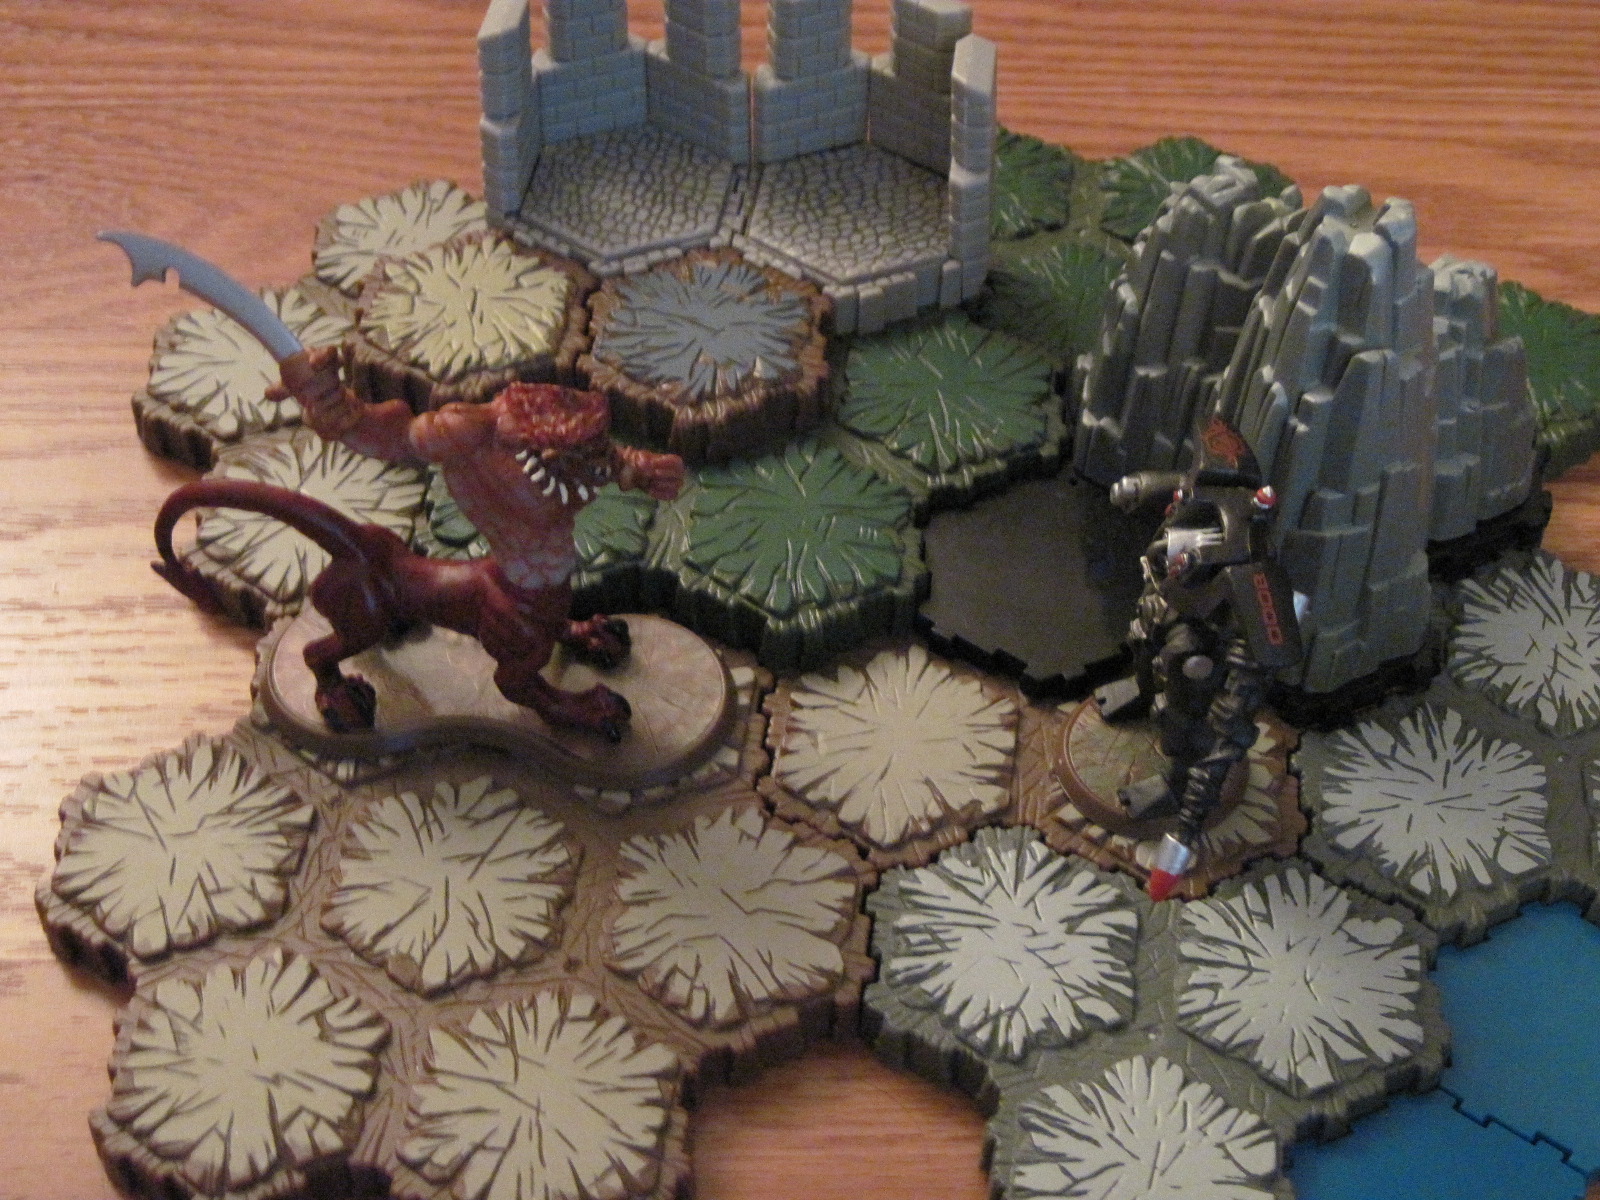
IMG_2813

Deathwalker stands in awe as Brunak bears down on him

Common Squads

Wednesday, October 20th, 2010

Under request from outside sources I put together this post about our thoughts about the number of common squads in an army.  It is my personal opinion that some common squads are very useful in large numbers, but for the most part common squads can stand on their own very nicely.  Some people say that commons are all built to go in hordes and uniques are meant to go solo when, frankly, if several certain commons were unique, nobody would say you need more of them.  With some people it seems as if it is just because there are common that they must buy more and not because they work well together at all.  I admit that most commons are a good in numbers because of order marker freedom and cheap cost, but I certainly don’t think that you should never use a common squads just because you don’t have two of them.  Some common squads are specialists (shades, Templar knights, most kyrie, grok riders, etc.) and are usually best in small numbers.  I think that two (and sometimes three) is a good temperate number for a squad that you are going to base your army around in a 500 point game (double that for a 1000 point game).  More than that (in my opinion) can be dangerous for the following reasons.

SQUADS ARE REALLY EASY TO TAKE CARE OF

Lets face it, there are sooo many figures that specialize in taking care of squads and lots that have powers off to the side mostly to take care of squads.  Tor-Kul-Na can just run over any small or medium squads you throw at him, Zelrig is a common squads owner’s worst nightmare, Major Q9 will just mow down most any squad forces you throw at him while your attacks just bounce off him.  Even the extremely buyable wyrmlings are very point efficient at destroying squads.  This is not anti-squad doctrine, it just means that you should pick the squads you want and don’t go overboard with the numbers.

NO VARIETY

HeroScape is very much a game of strengths and weaknesses.  One army is only good relative to the army it is facing.  Strategies will only work against the same kind of people.  When you pick too many of the same squads, one figure in the enemy’s army that is strong to your squad’s weakness can do way more than its point value in damage.  For example, the Death Chasers of Thesk are pretty darn helpless to range.  An army containing too many of these can taken on almost single-handedly by Major Q9.  However, abstain from too much of this squad and buy maybe two, then add a Frost Giant of Morh and an agent squad, effectively countering the weakness presented by the rest of your army.  The more variety of weaknesses you plan for the better.

Don’t get me wrong, HUGE numbers of Drones are never a bad thing.  Several squads are made for large numbers and my point is mostly that most common squads can survive on their own too.  Many or few, that’s your prerogative, but as for me, I think the more variety that works well together the better.  Fewer weaknesses that way.

Ana Karithon

Wednesday, October 20th, 2010

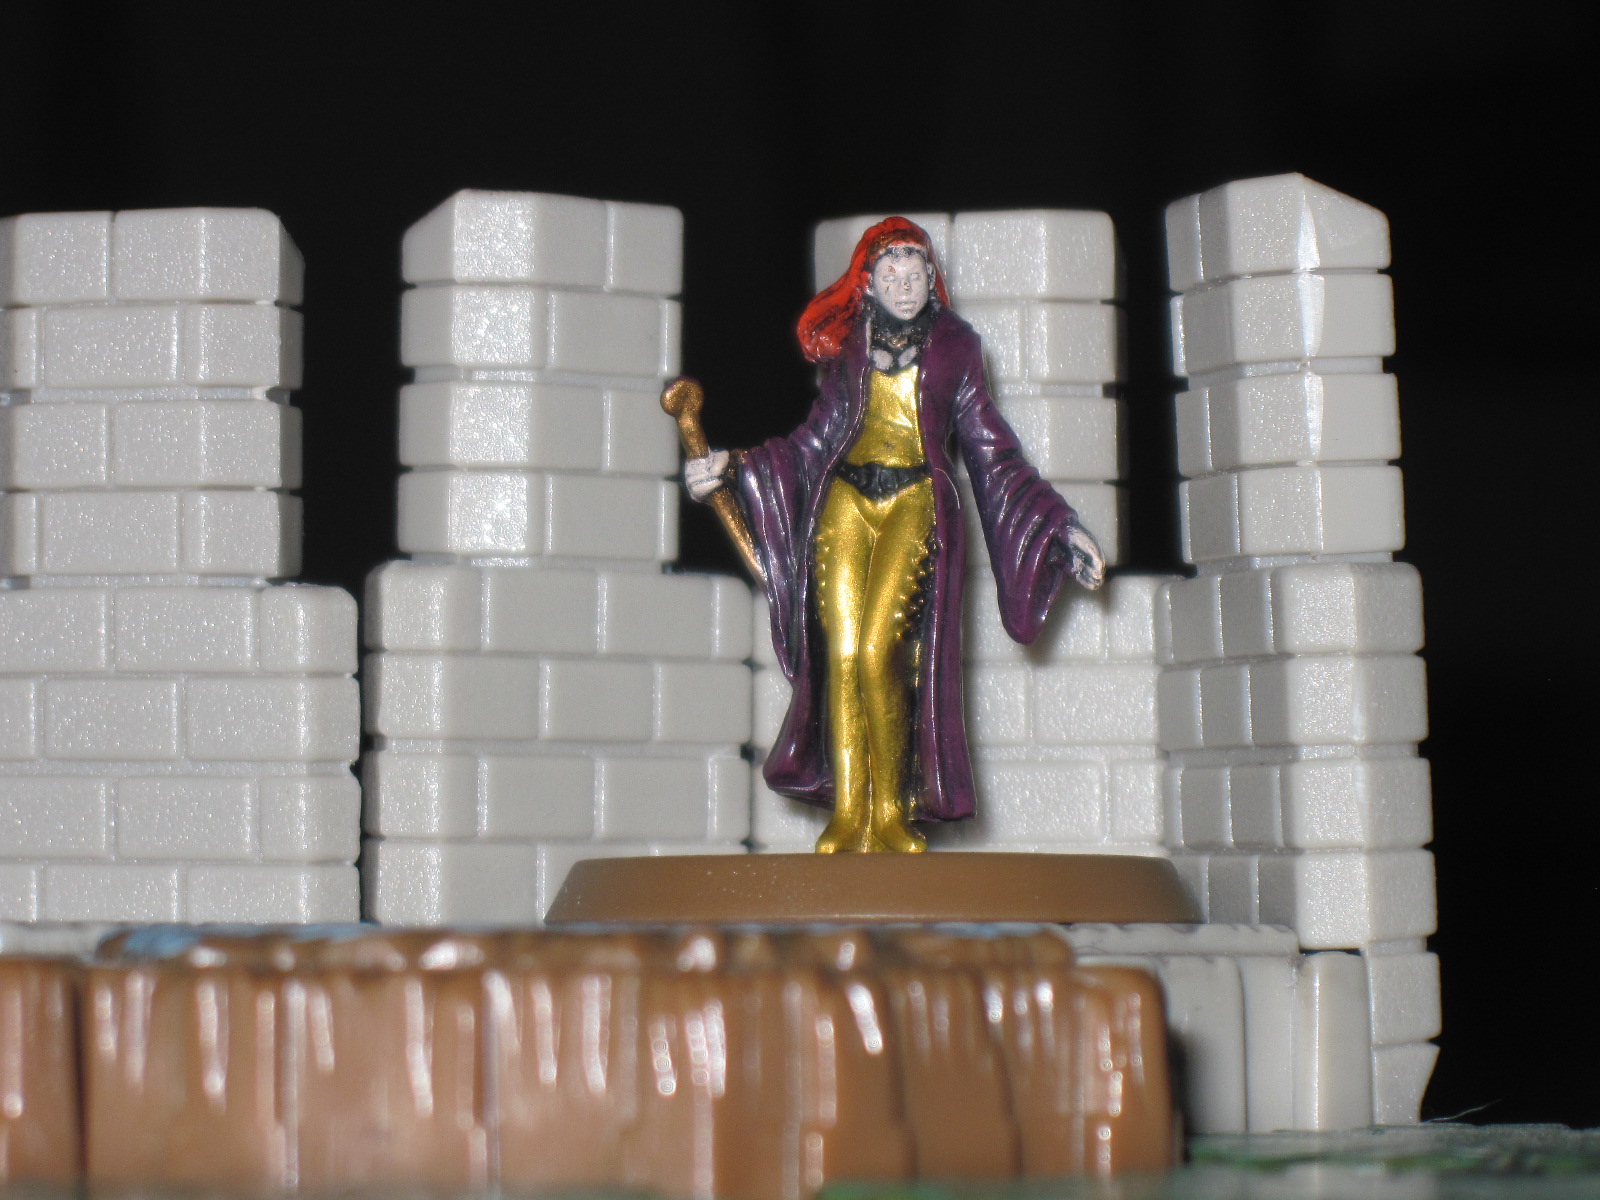
IMG_2810

Ana Karithon awaits the wounded behind some battlements

Wave: None

Master set: Master set 3; Battle for the Underdark

Home World: Toril

Fights For: Einar

Number in Set: 7/10

Hit Zones: Everything but staff

ATTRIBUTES

Human

Unique Hero

Cleric

Merciful

Medium 5

STATISTICS

5 Lives

Move-5

Range-4

Attack-2

Defense-3

100 Points

SPECIAL POWERS

Turn Undead Special Attack

Range 4. Attack 4. Turn Undead Special Attack can be used to attack only Undead figures.

Protection from Evil Aura

All small or Medium figures you control within 3 clear sight spaces of Ana Karithon add 1 to their defense dice when rolling defense against an attack from a figure who follows Utgar. Ana Karithon’s Protection from Evil Aura does not affect Ana Karithon.

Healing Word

After revealing an Order Marker on a wounded small or medium Hero figure you control that is adjacent to Ana Karithon, and before using any other special powers on any Army Card or Glyph, you may first roll the 20-sided die. If you roll a 13 or higfher, remove up to 2 wound markers from that Hero’s Army Card.

NOTES FROM THE AUTHOR

Although she is probably less well-known, and therefore less talked about, Ana Karithon is a rather interesting figure. If she is used correctly, she can be a great help to almost any army. If you position her so that she is in a cluster of your medium heroes, she can defend them from Utgar and heal them at the same time. The great thing about Ana is that you don’t have to put order markers on her. Note the Healing Touch. That way, you can strike with your heavier figures – like Sgt. Drake – and not waste any time on Ana. As long your opponent(s) attack you with Utgar figures – which is likely seeing as there are so many of them – You can also use her defense aura. Although definitely not a figure to count on winning a battle with, Ana can be help with the smaller heroes. Her only down side is her bad attack and defense. Ana is obviously not made to fight battles by herself.

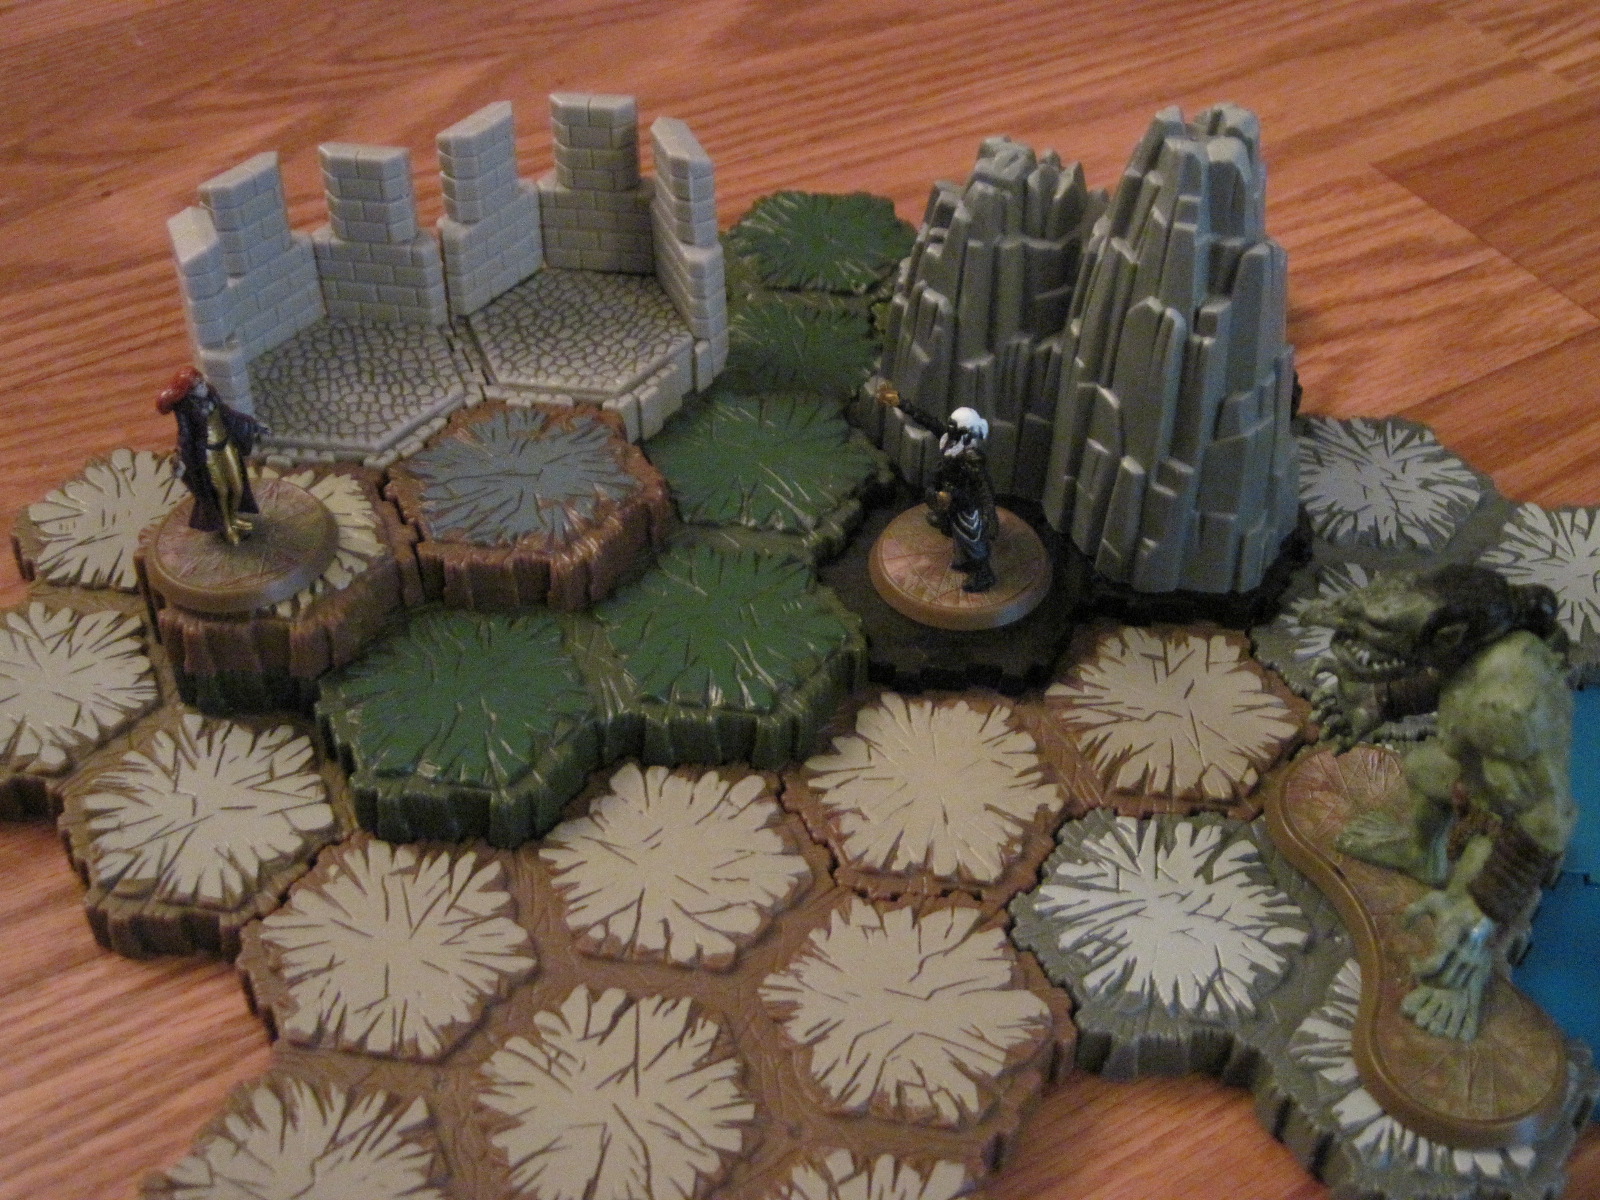
IMG_2811

Ana realizes too late that she should never have gone into battle

Ruins of the Desert Fortress

Tuesday, October 19th, 2010

It is said that in a small desert somewhere in the North, lies the crumbling remains of an ancient fortress. This fortress was once a powerful outpost of that dreaded evil general, Utgar. Abandoned by it’s defenders on its fall, the fortress was left to powers of the wind and sand. Its walls tumbled down, and its foundations weakened. But now, before the last remnants are swept away, it will be the battlefield for one last confrontation.

The amount of players is optional. Two is recommended, but having one in the middle ought to work just fine. The starting zones here are very picky. For the two players on either end, they may place their army on any grass space not in the middle and not surrounded on three or more sides by liquid. Do not count the one grass space in the sand. For the third player, he may start in any dungeon/shadow space in the middle and on any grass space not surrounded on three or more sides by liquid in the middle. For that matter, you could have someone in the swamp come to think of it.

Some may speculate as to what a swamp is doing in a desert. The excuse is that Utgar cast some enchantment or something to make everlasting water well up from the ground. I know it sounds more jandarish, but what can I say? That I just sued all my pieces? No!

Armies are completely up to you. No scenario is specified, but if you have any ideas, just contact me and I’ll either make you a contributor so that you can write it up yourself, or I will do my best for you. Enjoy the board!

IMG_2602

The ‘fortress’ is the dungeon island in the middle. Good elevation, rocks, and shadow to hide in make it very interesting.

IMG_2603

A close-up of the fortress.

IMG_2604

The swamp boarders one side of the board. The following are pictures of both ends of the board.

IMG_2605

IMG_2606

Although I realize it might be hard to build exactly the boards from these pictures, I suggest you build them by this model. Wherever you see a swamp, feel free to be completely creative. Make your own swamp. Rock, make your own, and so on. This might present problems with some of the scenarios though, so just keep things in pretty much the same place.

-The Reordered Reordering Orderly One

Defenders of the Gate

Tuesday, October 19th, 2010

A gigantic castle, long since defended by the Valkyrie, is now under siege. An army has arisen out of the swamps to attack the gate. The defenders must rush to defend it before the attackers can get there.

This is an interesting board. To start, the ‘defenders’ are placed anywhere within the castle (excluding walls and the gatehouse). The boundary of the second army is left up to you, although it should probably be somewhere in the swamp. The defenders have to get to the gatehouse before the attackers do; otherwise, their gate could be destroyed. Speed is likely to be the first factor in the attacker’s strategy. Either that, or sit and wait it out. Although the later may take awhile, it is probably the better of the two. The attacker’s choice controls what the defender does. Of course, if the defender has a lot of fliers or sgt. drake, then there is no need to open the gate, and he can attack any time he wants to.

Here is the board, followed by another shot of it.

IMG_2201

IMG_2202

Although I realize it might be hard to build exactly the boards from these pictures, I suggest you build them by this model. Wherever you see a swamp, feel free to be completely creative. Make your own swamp. Rock, make your own, and so on. This might present problems with some of the scenarios though, so just keep things in pretty much the same place.

-The Reordered Reordering Orderly One

Challenge of the Arena

Tuesday, October 19th, 2010

This board is a very interesting one. First, you pick where you start. Seeing as it is so large, several players can have different starting points and still have plenty of room. You could even have one player start in the arena and act as a guardian!

Since there is obviously an arena in the middle, the rule here would be that if two (or more)figures are in the arena at the same time, they can’t leave until there is only one left. This obviously presents some problems, seeing as probably the only person to enter the arena would be the Hulk. So, my suggestion would be after taking a turn with a figure or figures, you should roll the twenty sided die. You could work some numbering system out between the other players, but I would say something like an 18 or higher might suffice.

Good Luck! (you’re going to need it!)

The ultimate board for duelists.

Although I realize it might be hard to build exactly the boards from these pictures, I suggest you build them by this model. Wherever you see a swamp, feel free to be completely creative. Make your own swamp. Rock, make your own, and so on. This might present problems with some of the scenarios though, so just keep things in pretty much the same place.

-The Reordered Reordering Orderly One

Defenders of the Walls

Tuesday, October 19th, 2010

There is a small rise in the middle of a vast plain. A waterfall tumbles down this slope, forming a pool at the base. A little space away from the rise are two battered walls. Their origin and purpose are forgotten. However, some recent discoveries have been made there…

A field of powerful findings has recently been uncovered at the base of the two walls. Artifacts, that give power to whoever finds them, have been unearthed. Out of nowhere, there seems to rise an army. It amasses its strength and begins to march toward the walls. It is small, but powerful. Enemies join together in it. Surprised by these sudden happening, a Kyrie general has put together a small defense force. Its numbers are equal to that of the advancing army, but it is perhaps not quite so powerful. Stationed by the pool, there is little, if any, order in it. Still, a disordered army is better than no army, and they face the oncoming foe with what little courage they have…

Defenders of the Walls pb

As you can see, the ‘Artifacts of Power’ are the glyphs behind the walls. One side wants to defend the glyphs, while the other wants to destroy the defenders. The defenders are weaker, but they do have a height advantage. They would be even better off if they could get at the glyphs themselves: however, they are not to touch them for ‘archeological purposes’. They can, however, get at the glyphs not behind the walls.

Defenders of the Walls ap

MG= Mimring

NGS= Ne-Gok-Sa

SS= Syvarris

DR= Deathwalker 9000

GK= Grimnak

AC= Agent Carr

ZG= Zetian Guard(s)

TVW= Tarn Viking Warriors

RN= Raelin the Kyrie Warrior

TM= Thorgrim the Viking Champion

FN= Finn the Viking Champion

MW= Marro Warriors

SD= Sargent Drake Alexander

IS= Izumi Samurai

Instructions:

  1. Place the glyphs and figures where specified. The airborne elite drop as normal and are on the invader’s side. Although they aren’t shown, the Krav Maga Agents are on the invader’s side and take the three spaces directly in front and slightly to either side of Mimring.
  2. The ‘invaders’ act normally. Although they are trying to get the glyphs, they also want to annihilate the other side. The defenders may not land on the glyphs behind the walls, but all other glyphs are fine. If a glyph behind the wall is landed on and it is temporary, then the defenders can move onto the space. Just no ‘wall glyphs’: tiles are fine.
  3. The invaders move first.
  4. All other rules apply for normal play. Other than the rules here, it is a normal battle.

Here are some more shots of the board:

IMG_2027

IMG_2026

IMG_2024

This last shot is one of the board: level one.

IMG_2029

Although I realize it might be hard to build exactly the boards from these pictures, I suggest you build them by this model. Wherever you see a swamp, feel free to be completely creative. Make your own swamp. Rock, make your own, and so on. This might present problems with some of the scenarios though, so just keep things in pretty much the same place.

-The Reordered Reordering Orderly One

Battle of the Squads scenario

Tuesday, October 19th, 2010

This is a Free Scenario, meaning there is no board. You are free to pick your own army. However, there are limitations. The rules to this scenario are as follows.

  1. Build any kind of board you want.
  2. Your armies must be made up entirely of  squads.
  3. When placing your figures in your starting area, only place one figure from each squad you chose.
  4. The squad figure’s type changes from squad to hero.
  5. the figure’s stats are equal to the combined stats of all members of the squad, on the board or not.

The idea is that each squad has chosen one of its members to represent them in a great battle. Therefore the chosen figure changes from a squad figure to a hero figure. Take the Krav Maga Agents, for example. Some of their stats (attack,defense) would be tripled because there are three of them. So while their stats are normally: attack 3 defense 3, They would instead be, attack 9 defense 9. this obviously makes some pretty powerful figures, but it also makes a pretty good ‘devastation game’. The ability or abilities would also be affected. Having 9 defense dice, the Krav Maga Agents would obviously be way too powerful with stealth dodge. So, it would probably be something like 3 dice instead of 1. The changing of the abilities are up to you, but they should be something along those lines.

Ruins of the Waterfall scenario

Tuesday, October 19th, 2010

This landscape was originally the site for a strong fortress. It’s walls have long-since tumbled down over the millennia, giving way to a powerful waterfall. This new force quickened the erosive process, reducing the castle to no more than two broken-down walls. The stream created by the waterfall found its way underneath the castle and has quickly begun to transform its only remaining cornerstone to sand.A broad field stretches for miles in every direction except for that of the rock face, which the waterfall tumbles down endlessly.

Two great armies have been amassing their strength over all of Valhalla. Their power unchallenged, they have finally met at the site of so many other battles which were fought long ago.  Now they must put their strength to the test. One army boldly marches up to the edge of the precipice over which falls the roaring torrent. The other is later in arriving. They must charge across the remaining stretch of grass before they can reach their foe. But, as the two armies watch each other, the plain seems to fill up with all of the inhabitants of Valhalla. One army has height on their side, but will numbers win the day? There is only one way to find out… a fight to the death!

waterfall 1

There is only one way up to the top of the waterfall: a steep climb. The pond formed by the waterfall is mostly surrounded by a sandy bank. The stream leading away from the pond travels under the cornerstone of the ancient fortress, slowly eating away at the rock. All that remains of the cornerstone are three pillars of stone and a sandy patch of ground right under the center of the massive block. The two walls left standing mark where there once was a mighty wall, capable of withstanding any kind of bombardment. Two holes deeper than the deepest cavern sit in the shelter of one of the walls. They plummet straight down, seemingly without foothold or bottom. No one knows of their origin (except me! They exist due to a lack of pieces!).

The rule for the scenario here is more of a suggestion. The player that starts on the field should start with more squads or people with good range. The player starting on the rock should have an army made up of low attacks and medium range. If this is not the case, chances are the ‘rock player’ will win. Glyphs are optional and armies are not pre picked. However, the ‘rule’ should influence the picking of armies. Player 2 may start both below and on the rock ledge. This board is possible using only the Rise of the Valkyrie set.

waterfall 1

Although I realize it might be hard to build exactly the boards from these pictures, I suggest you build them by this model. Wherever you see a swamp, feel free to be completely creative. Make your own swamp. Rock, make your own, and so on. This might present problems with some of the scenarios though, so just keep things in pretty much the same place.

-The Reordered Reordering Orderly One

The Ultimate Army

Friday, October 8th, 2010

In HeroScape, we usually try to figure out an army that is invincible and can still fit within our point range. There are lots of combos out there, and nearly all of them are hard to beat. But is there an unbeatable army? No matter what, some way, some how that army will get beaten. It’s inevitable. So, the next best thing would obviously be an army that wins 99% of the time, right? Now, you don’t just happen along these armies randomly. You combine them, piece by piece.

Now the obvious strategy would be to combine the best figures, right? Maybe you can have one or two good figures, but in order to stay within your point range, you have to combine them correctly. Keep in mind here, I am no expert.

Not counting the figures in Marvel set, the best figure is probably either Jötun or Tor-Kul-Na. Jötun, with his incredible offensive abilities, can pretty much wipe anyone out and is definitely an ultimate asset. Tor-Kul-Na can easily take out squads, and, with his attack of 6, can usually strike a deadly blow.

However, just having the best figure there is isn’t going to guarantee you victory. It might take out quite a few figures, but it will die. So, what you need to do is get the best figures that work with your army. Also, no figure is too menial to serve you. Who knows, maybe the Nagrubs will become the ultimate combo piece one of these days.

Of course, in order to find the best combo pieces for your army, you must first decide what kind of an army you will have. You could have an army that is purely offensive. Super attacks that will take out the enemy before he takes you out. You could have a purely defensive army: one that is so hard to destroy it is the only one left standing. You could have a custom army. Custom armies require a better plan than “fight ’till you die”.These custom armies take time to develop. After they are made, they must be perfected in trials.

However, for the person that does not have an immediate strategy at hand when a friend suddenly springs a HeroScape game on him, a backup is required. Backups are hand-crafted, cost-efficient, and potentially deadly armies. Backups do, of course, change from game to game. This depends on the army you need to fight. If your opponent winds up with Sgt. Drake, Tor-Kul-Na, Charos, Jötun, the Hulk, and the arrow Gruts (hee hee), then you do not want to be stuck with Thorgrim and twenty-one Nagrubs. You need to watch what your opponent picks.

A good way to play one-on-one and still win is to counter your opponent’s choice. Read about figures and discover their nemesis. (Nagrubs- about a billion) Once your opponent has picked, pick the figure that can eliminate that figure the fastest, easiest, and with as little danger to your own figure as possible.

While this strategy may work, if your opponent starts to target your figures with their ‘non-opposites’, things could get ugly. You should have some way to make sure that you control what happens on the board. You don’t want to have Ne-Gok-Sa all set up to take out his target figure when Syvarris’s target figure takes him out. Things can quickly descend into havoc. You need a figure to take out any one that is destroying your battle plan. A good combo might be a proven killer and a healer to keep him going.

Also, healers are almost necessary in backup armies. They can keep your figures from dying prematurely. If you over-rated someone, you don’t want that figure dead while the killer is at large. You need a way to keep it alive. Of course, you also need a healer that can take care of himself too. People like Sonlen, who can heal himself while bloodying up others, can be helpful. However, people like Rhogar Dragonspine and Kelda can heal a lot faster than Sonlen. More often than not, Sonlen ends up dying because he couldn’t decide if he wanted to heal himself or not. Pieces like Realin can offer vast defensive boosts, too.

However, probably the best army is a self-constructed backup. Think up an army that can fit into a 400-500 point round that is potentially deadly. With more than one round, you can use  the rest to fill it out a bit. Your custom backup army should be basic. You don’t need a bunch of figures for a skeleton army (not bones type skeleton). You just need to discover a few figures that work really well together. As long as they pose a good sized threat, you should be safe. On the next round, if there is one, focus on the figures that promote your army. Su-Bak-Na can be an excellent second-round pick for a marro army. Healers and defenders can be helpful too.

So, you have several choices when drafting an army. Of course, there are other things that you need to keep in mind, too. You have to make sure you don’t wind up needing a figure but not being able to buy him. Your starting zone can be another factor. Make sure you know where you want your figures to go, and how much space they’ll be taking up. Also be aware of terrain. Many figures’ abilities depend on what kind of terrain they are on. Be aware of the board and plan ahead.

One last thing to keep in mind is your opponent(s)’ strategy. Too often have I come up with a grand plan, only to have it destroyed by my opponent’s first unexpected move (which, coincidentally, is usually his first). You need to plan ahead. Put yourself in your opponent’s position. Would YOU send Charos against Deathwalker? Or would you send Dünd out while you keep him in readiness for Sgt. Drake?

Above all, you have to have backup plan. If something goes wrong, you don’t want to have it all over in one turn. Have your backup figure, your surprise tactic, anything at all up your sleeve that could upset your opponent’s strategy and possibly win you the game. Although it is unlikely that you need it once you discover your backup army, it is good to have many reserves.

As are all games of strategy, HeroScape is a game that requires a fine-tuned plan. You can’t just go barging in with your half-dozen squads of Gorillanators (pause…). You need to know how your opponent)s) play, what their custom armies usually are, and how to defeat them. Good Luck!

If you have any strategies or other things to add to this post, please contact me below. I will peruse your content and hopefully add it to the post.